[2008-09-16] Olympus D340R infrared conversion
The Olympus D340R is the first digital camera anyone in my family ever owned. I received one as a hand-me-down several years ago and it hasn't been doing much since then except sitting on the shelf. I'd seen several web tutorials, like this one, that demonstrated how a consumer digital camera could be converted to infrared-only use. Conceptually, the process is straightforward: First, you take the camera apart and remove the IR filter mounted over the CCD chip. This allows infrared light to reach the CCD, which is naturally sensitive to it. Secondly, you insert a visible light filter in the optical path to allow only infrared light to reach the CCD.
In practice, of course and as always, things are a little more difficult. In the first case, the focal length of the camera's lens system will have been developed to match the refractive properties of the IR filter, so simply removing that filter and not replacing it with a refractively similar element will leave an autofocusing camera permanently and badly out-of-focus. So to really make it work right you have to replace the glass IR filter with a piece of glass of identical thickness and refractive index which is transparent to IR. In the second case, many of the tutorials I saw were suggesting using stacked unexposed processed film negatives as visible light filters, often simply taped over the outside of the lens. This struck me as a haphazard solution, and I reasoned that if I was going to have to cut a piece of glass to match the dimensions of the factory IR filter anyway, I might as well kill two birds with one stone and use a piece of selective IR-bandpass glass for a permanent and rather more professional conversion.
Therefore I browsed over to the Edmund Optics website and ordered an appropriate optical filter (their #NT46-443, filter band RT-830) for $26US. The filter specifications indicated it was of approximately the same thickness as the factory IR filter, within tolerances. As sold it was round, 1" in diameter, and although I inquired about having it cut down to the same size as the factory IR filter (0.332 in x 0.363 in), this proved prohibitively expensive. So I resolved to cut it down myself, which turned out to be rather easy to do with a ruler, a carbide glass cutting wheel, and a pair of nipping/running pliers. These are inexpensive tools, and I had some on-hand in a box of supplies for making glass-tile mosaics. I got the crude shape, slightly oversize, using this scoring-and-breaking process, and then polished the edges down to final size using silicon carbide grit and water on a scrap of window glass. Be sure to cover the optical surfaces of the filter with tape before you do this, to prevent scratching from the abrasive. It probably took 45 minutes of continuous work to produce a chip of glass of the right size, and at that point it simply dropped in place where the factory filter had been installed. The camera was then reassembled.
There were a couple of snags. First and foremost, I nearly ruined the camera the first time I took it apart by trying to get at the CCD from the lens side of the body. This requires dismantling the tiny and complex autofocus mechanism, which was extremely difficult to get back together once I'd realized my mistake. So be sure to come at the problem from the backside of the camera body, removing the LCD viewscreen and the circuit board secured behind it with screws. You have to tug on the board a bit once you remove the screws, but it'll come--it's connected on the underside through a pair of press-fit ribbon connectors.
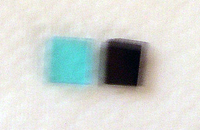
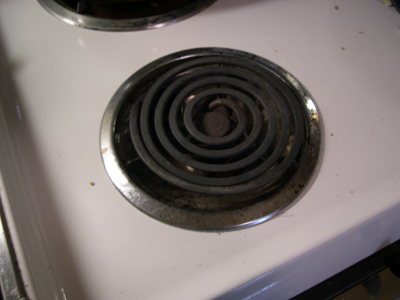
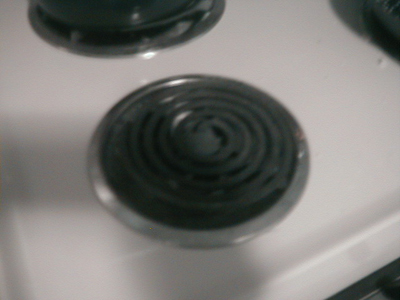
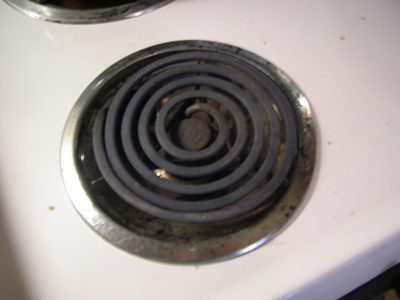
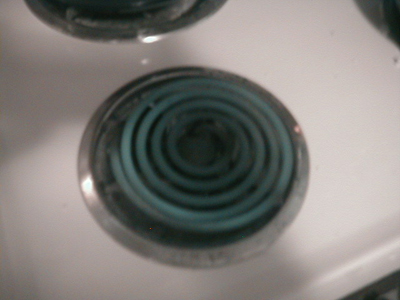
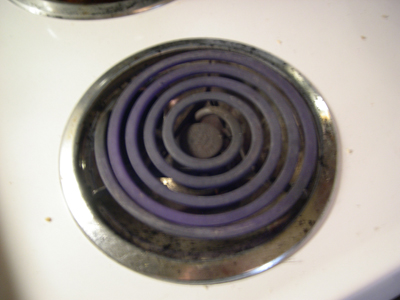
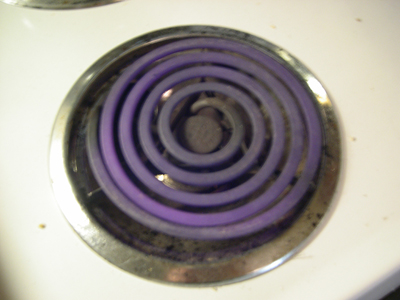
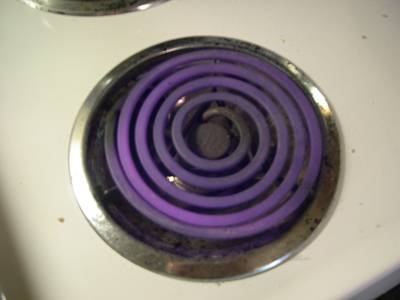
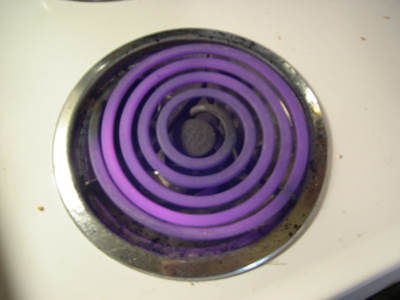
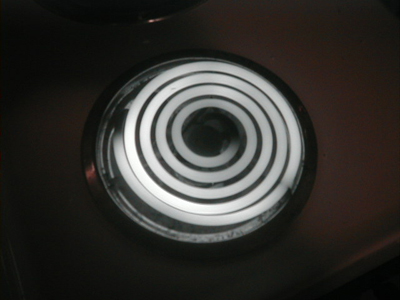
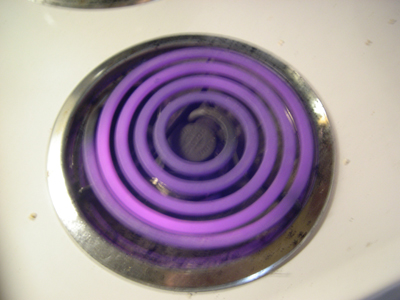
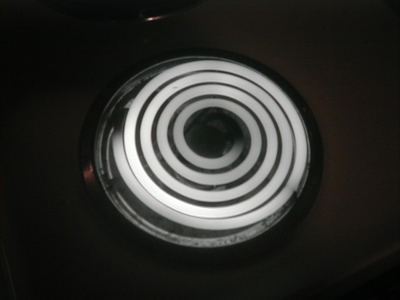
The most annoying problem came when I got the camera back together and found it did not focus properly. I then carefully measured the thickness of the two filters and discovered, unfortunately, that the factory filter was some 0.010 in thicker than the filter I bought from Edison. I was able to correct the problem somewhat by shimming the aftermarket filter with two tiny chips cut down from microscope cover slips of about 0.005 in thickness apiece. The results are satisfactory for the camera quality, but still slightly out-of-focus. Besides the introduction of four new air-glass interfaces by the shimming process, my assumption that the factory and aftermarket filters have essentially the same refractive index is probably flawed. Still, I'm pleased with the results. Shown below are a series of time-correlated visible- and IR-spectrum digital photographs of a stove burner heating up, taken with my factory Nikon Coolpix 4300 and the modified Olympus D340R. Interestingly, the IR series shows a slight color/temperature correlation before the burner is visibly incandescent.


last modified 2008-09-16