[2010-06-21] Off-label uses for rear view mirror glue

When I make stuff, I am generally distrustful of glue. I really like things to screw, slot, bolt, pin, clip, or otherwise more integrally connect, structurally, than just a layer of hardened goo between mating surfaces. There are exceptions: If a pinned, screwed, or slotted joint is to be permanent, I'm glad to use adhesive to reinforce it. Likewise, in cases where it's possible to solvent-weld a joint, i.e. when gluing plastics, I am entirely comfortable depending just on the "adhesive," which is really a slight misnomer in that case, to hold the thing together. But in general, I only choose to depend on adhesives as a last resort.
But there are occassionally times when a glued joint is the only practical design option. In these situations, adhesives have to be chosen carefully based on the materials to be joined. A helpful online resource is This to That, which tries to exhaust the graph of possible joints between ceramic, fabric, glass, leather, metal, paper, plastic, rubber, styrofoam, vinyl, and wood. Some combinations are naturally more troublesome than others--it helps if the mating surfaces have some roughness, to increase the surface area over which the adhesive acts, and also if the materials in question are permeable so the bond can actually penetrate below the surface layer. If these conditions can't be met, it can be very difficult to achieve a strong joint using adhesives, and such joints have to be treated gingerly when it comes to extremes of temperature, mechanical vibration, radiation and/or chemical exposure.
At least that's what I always thought, until, while stopped at a traffic light one day, I looked up at my rearview mirror and realized it's simply glued to the glass. I've owned six cars in my life (none of them manufactured in this millenium) and driven hundreds of thousands of miles in them, and although I've had to performed hundreds of repairs both small and large, I've never had a rearview mirror fall off the windshield. When I started asking around, I did hear a couple of first-hand reports of mirrors falling off, but even my Dad, who's now 70, says he's never had to reattach a rear view mirror, either. And he's lived all his life in Texas, where the high summer heat regularly breaks 100F for weeks at a time.

If you inspect the mirror, you'll see that it's mounted to a metal button, about an inch square, which is glued to the glass of the windshield itself. These buttons, I have read, are typically sintered steel or cast zinc alloy, and their surfaces are actually quite smooth.
So here's an adhesive system that breaks all the rules: A bond between two very smooth, entirely nonporous surfaces, subjected to nearly constant mechanical vibration from the engine and road, seasonal extremes of heat and cold, and ongoing UV radiation from the sun. And yet, even over a performance lifetime of a decade or more, the joint rarely fails.

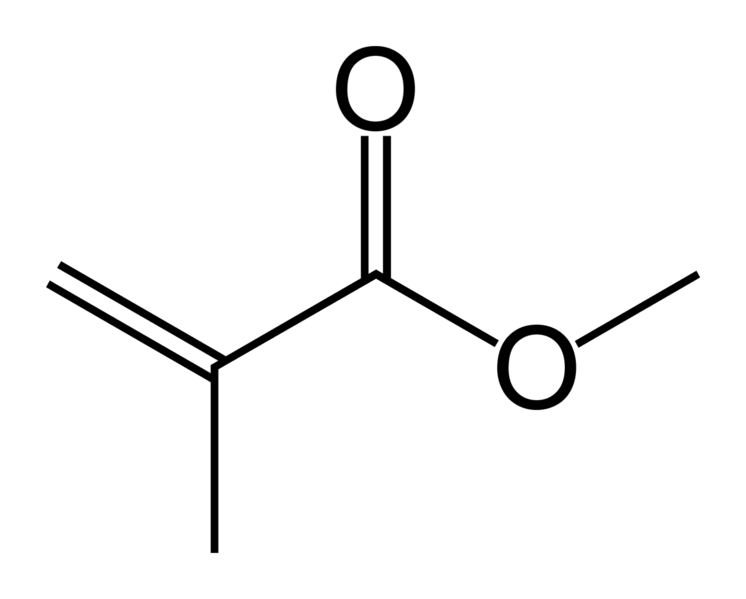
I started Googling and learned a few things. Many modern rearview mirror buttons are actually glued on at the windshield factory, using a thermosetting process, but for a long time the OEM industry standard was an adhesive essentially identical to those still commonly sold in rear-view mirror repair kits at hardware and auto part stores. Loctite 312, pictured above, is a prototypical example. It's a cement based on the polymerization of a methylmethacrylate monomer, triggered, in part, by compression between two close-fitting surfaces, and in part by a separately applied activator that consists of a pre-reacted mixture of aldehydes and amines.

When you buy a rear-view mirror repair kit, it comes with a cleaning solution that you're supposed to apply to both surfaces before applying the actual adhesive. This solution is mostly acetone or some other volatile solvent, which just cleans the surfaces, but it also contains around 20% of the aldehyde-amine activator. The presence of this chemical, combined with mechanical compression of the thin layer between the parts, causes the adhesive to set up. You have to hold it in place for about a minute, then you should give it a day to achieve full strength.

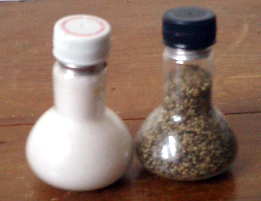
I recently became interested in potential off-label uses for rear-view mirror cement when it occurred to me that a glue which will so reliably bond metal to glass could potentially solve an (admittedly trivial) problem that's been in the back of my mind for years now. The trick of hollowing out a burned-out light bulb, turning it over, and using it as, say, a salt shaker, or a terrarium, or a vase, actually dates at least to the Depression era, but has become widely known over the last ten years, or so, in the DIY blogosphere.

It's easy enough to do, but the problem that everyone faces when they try it is that the rounded shape of most light bulbs will not stand upright when inverted to serve as a container. I once made a set of salt-shakers using unusually-shaped "spotlight" bulbs that will stand upright on their own, but the common light bulb requires an o-ring or some other type of stand to keep it from falling over. If you have the skill and tools to manipulate hot glass, it's possible to squish the end of the bulb--sort of like Columbus's famous egg--and make a flat spot for the bulb to rest on. But the separate stand approach is much more practical for most DIYers.

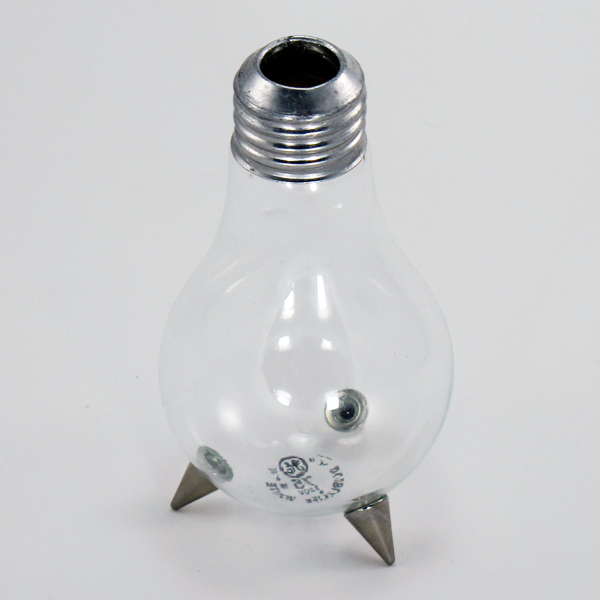
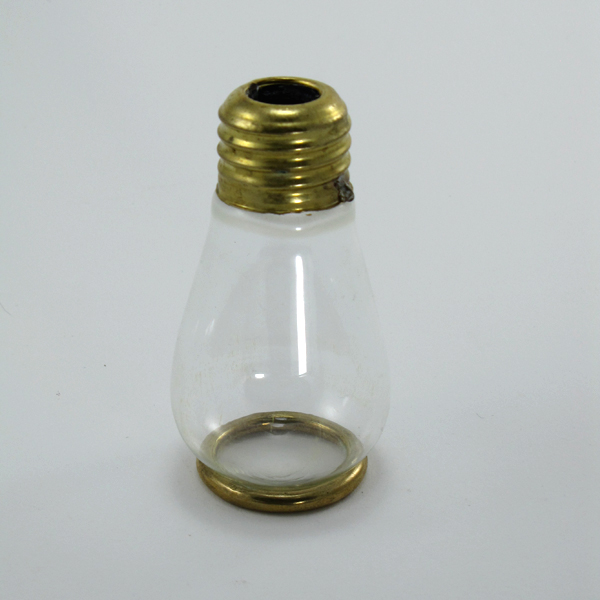
You can see at the top of the page what I've done to solve the problem. Using rear-view mirror cement, I've attached three metal feet to the bottom of a hollowed-out bulb so that it will stand on its own without a separate fixture. I've also made a freestanding light-bulb vase by gluing a bulb into a small brass ring using the same cement (immediately above), but I'm not sure this is as sound an approach as I think differential expansion of the brass and the glass with changing temperatures will be more problematic when the metal element is a continuous ring.
A handy trick I discovered in the process is to only use the activator solution supplied with the cement on the smaller of the two surfaces to be joined, and to clean the other, larger surface with plain acetone. This makes it easy to keep the activator corralled in the area of the joint, so that any drips or dribbles around the joint are less likely to cure and create an unsightly mess that's hard to remove. I found that, even after the joint itself had been set up for two hours, the excess dribbles around it were still uncured and could be washed away with acetone without noticably affecting the strength of the glued joint. So, on top of all its other amazing properties, rear-view mirror adhesive makes it easy to get a very neat looking joint even with sloppy technique.
last modified 2010-06-21